I received Deco Art paint as a part of their Blogger Outreach Program for this post. However, the project idea and views expressed are my own.
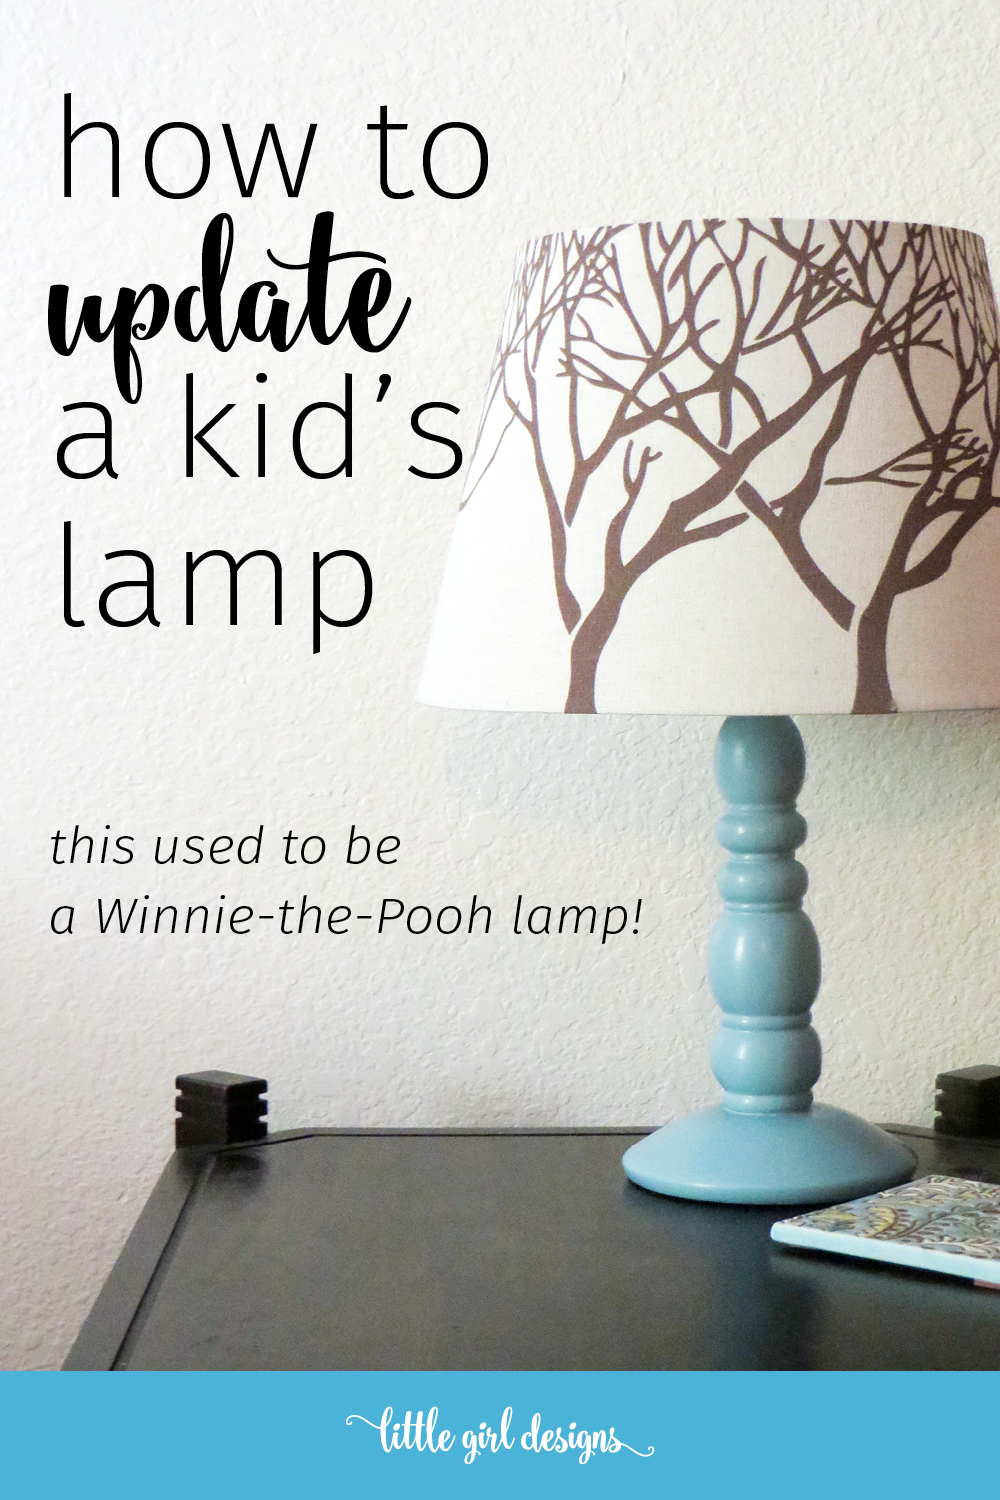
If I had known updating my daughter’s Winnie-the-Pooh lamp was this easy, I probably wouldn’t have waited for as long as I did. I borrowed it from her room early on because the lamp on my night stand broke. So I’ve had a Winnie-the-Pooh lamp to read by for the past three years. Yes, I’m really classy. Guess I won’t be doing any home tours any time soon.
But seriously, it was a cute lamp, so I also had some concern that if I did attempt to update it, it would look seriously tacky. Well, my fears were clearly unfounded. I love my “new” lamp!
Before we get started, there are a couple of things to note. Make sure your lamp base is smooth so the paint will adhere nicely. Take a look at the lamp you want to update and if possible, paint a tiny part that no one can see to see if the paint will look nice or not so nice on it.

How to Update a Kid’s Lamp
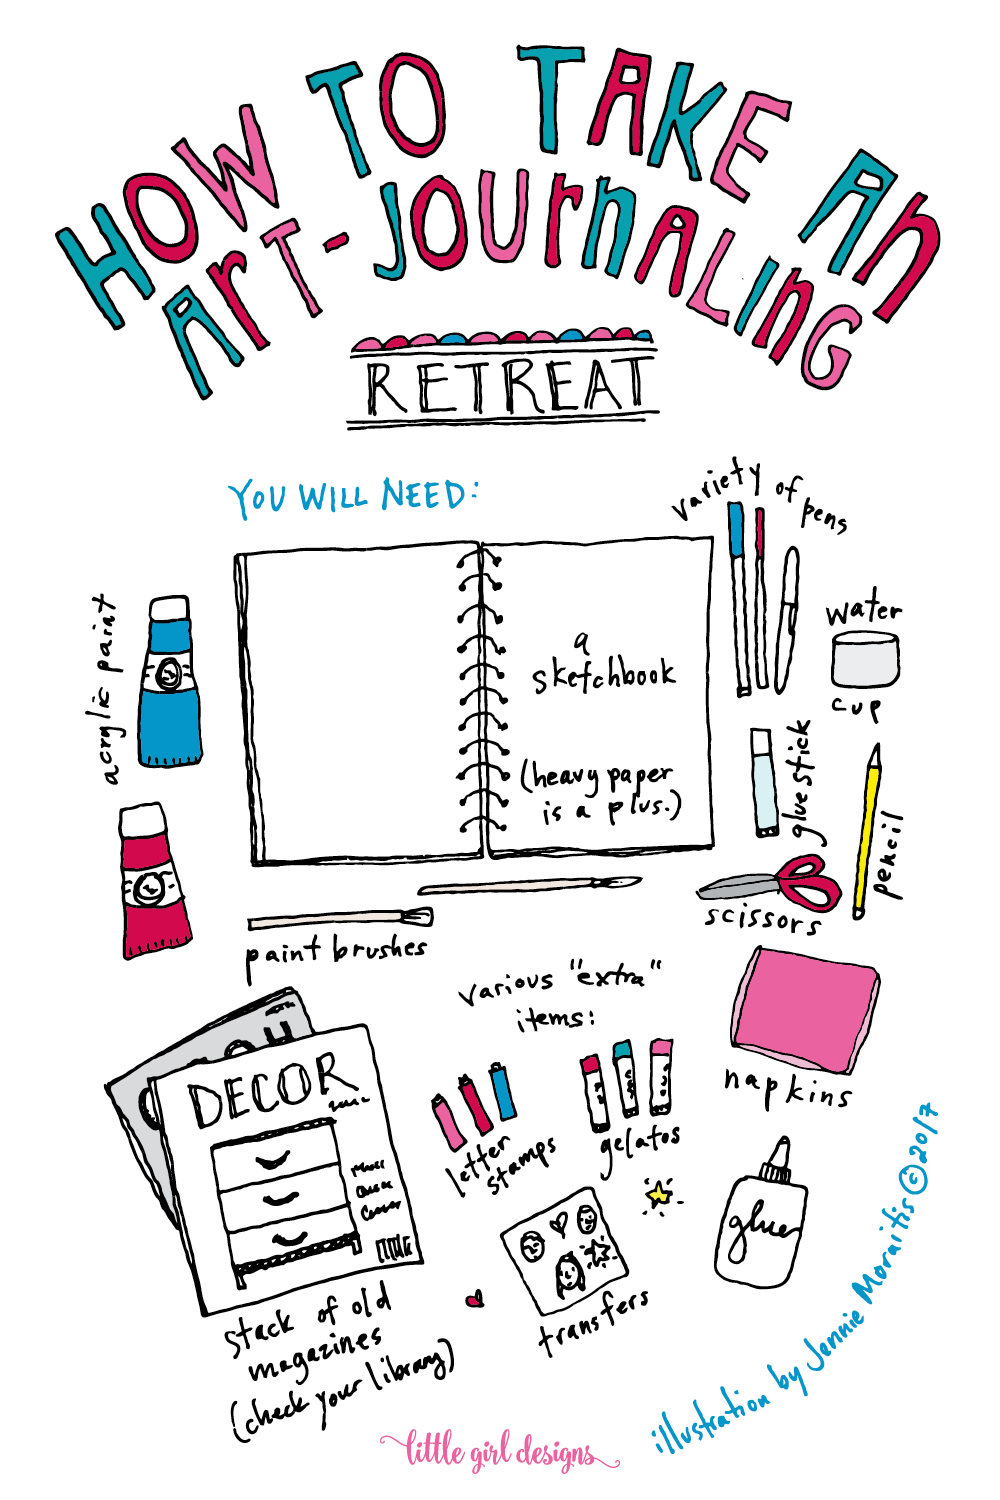
You will need:
DecoArt Satin Enamels paint (I used Seaside Blue)
One lamp shade
Paintbrush
To start, unplug the lamp and wipe the lamp base clean. Remove the light bulb and shade.

I used a regular paintbrush that I use for my craft projects to paint the base. It was actually kind of addicting to brush on the paint and I almost forgot to take an “in progress” picture. Make sure your brush strokes are even as they will show a little bit when they’re dry. I let the lamp stand dry and then painted a second coat.
In the picture, you can see tiny bubbles in the paint because I shook the container before opening it. The paint is water-based, so you need to shake it gently or else it will look very watery. The bubbles popped and went away on their own so it wasn’t a problem.

This paint dries to a nice shade of blue that is so pretty. I bought a lampshade that had my favorite tree outlines on them, added it to the stand, and that was that.

I love how fast this project was to pull together and how nicely the lamp turned out. Now I’m eyeing other pieces of furniture that need an update. 🙂 (*Update: I repainted my daughter’s dresser too. :))