
Welcome to the ninth week of my Summer Crafting series. Every Friday until next week, I’ll be sharing easy crafts you can make over the weekend. Be sure to check back each week for new projects!
This week is also week four in my How to Make an Art Journal series. Click here for week one where I shared how to make leaves out of old book pages, here for week two where I made the tree collage front cover, and here for week three when I made the mommy & me back cover.
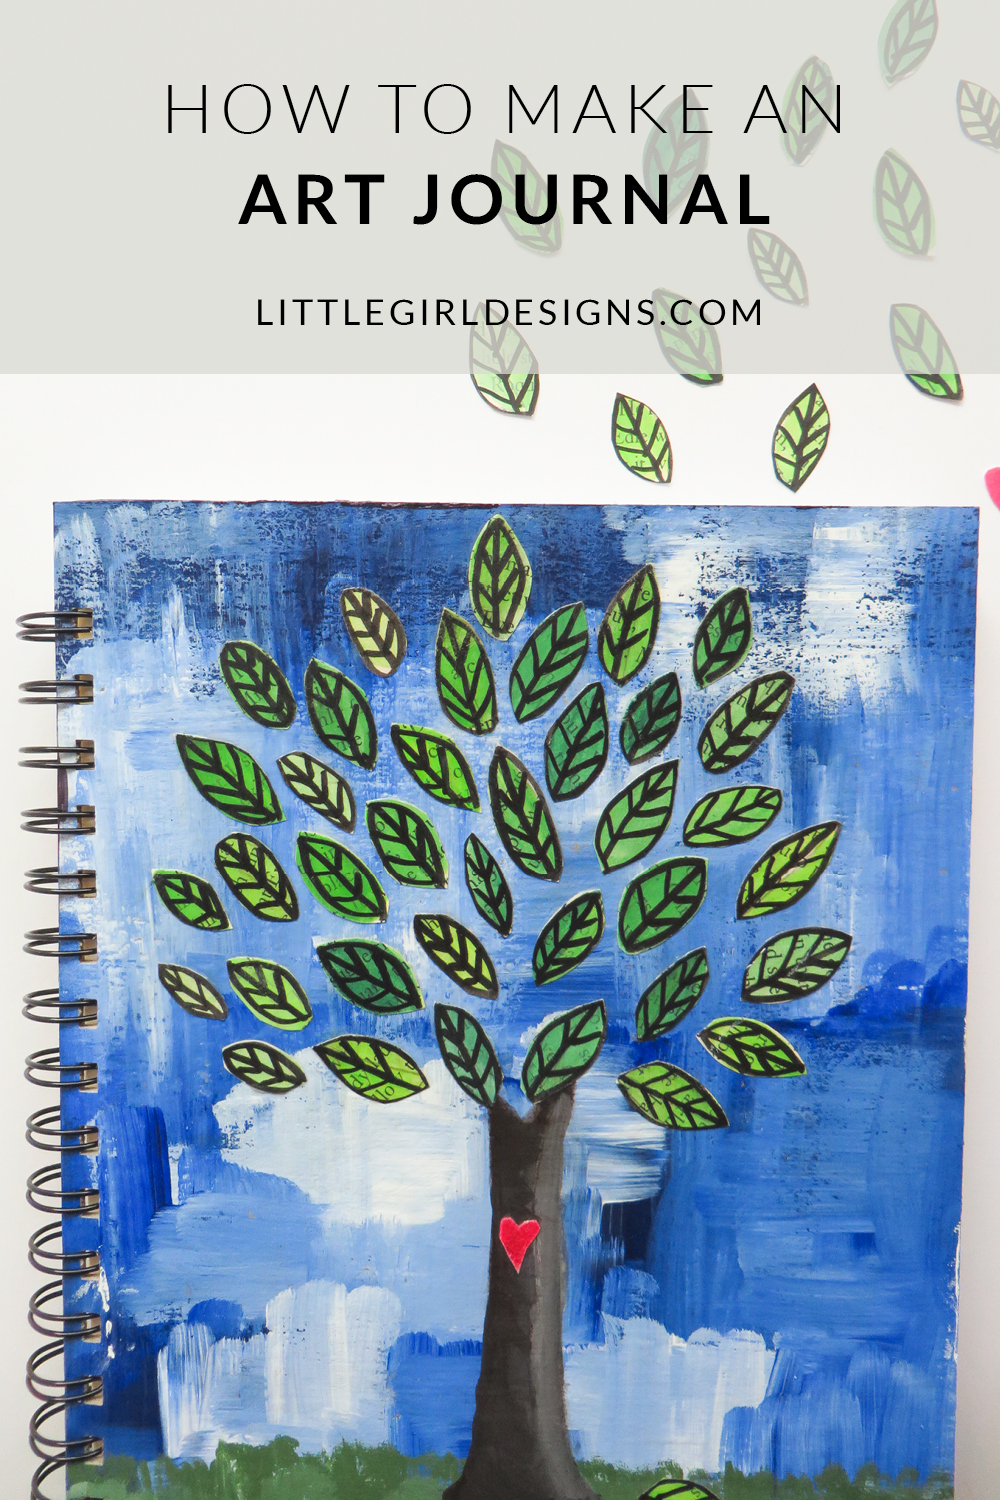
Well, we made it! I’m so glad you joined me for this final week of journal-making. I’ve never made my own o-wire journal before but after making this one, I’m officially hooked. It really could not be easier. I’m calling this post, “How to Make an Art Journal” but it really could be a regular journal as well or even just a place to keep notes. I’m actually looking forward to finishing my current journal so I can get started using this one. 🙂
How to Make an Art Journal
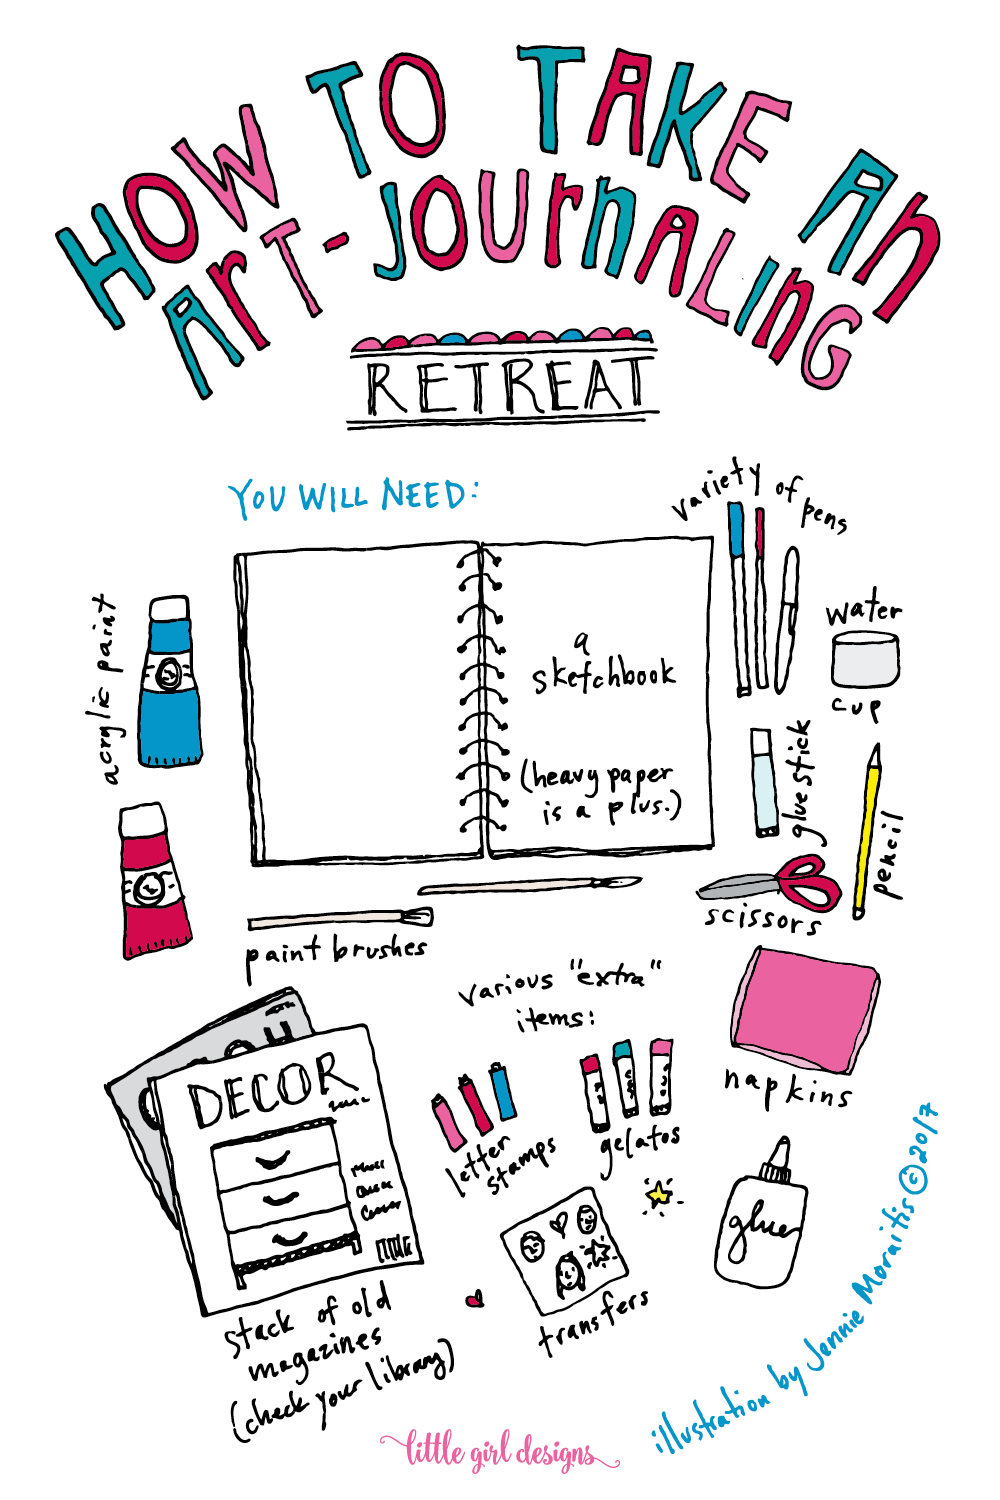
You will need:
Front cover (how to make one here)
Back cover (how to make one here)
Interior pages cut to the same size as the covers (I used copy paper, construction paper, and a couple of pieces of watercolor paper)
Zutter Bind-It-All, Version 2.0 (This is the smallest and least expensive o-wire binder I could find, and I highly recommend it.)
O-wire (I used 3/4-Inch)
(You could probably take this to a copy shop and ask if they could bind the covers and papers together for you. I would double-check, though, since they might charge more.)
To start with, if you didn’t already decorate the opposite sides of the covers, this would be a great time to do so. I took yellow and white acrylic paint and brushed it on using a medium brush. You could also decoupage or collage pictures for the interior covers.
Once the covers are completely dry, use the Bind-it-all to punch the covers and the pages. The first time I used this machine was to bind the PDF of The Creative Retreat workbook, and I’ll admit that I got really nervous and asked my husband to help. He’s one of those super precise people so I knew he would get it perfect (and he did.) The Bind-it-all comes with a little book that tells you exactly how to bind your book, and my husband made a template that we used to align our pages.
Honestly, I’m making it sound more difficult than it is. (By the way, here’s a post about making a small sketchbook with the Bind-it-All machine. It is too cute!)

Okay, moving on. You’ll punch the covers and then the interior pages. Then you’ll put the o-wire through the pages (using the diagrams in the booklet as your guide) and clamp them shut by placing them in the Bind-it-all and pressing down on the lever. I recommend doing this slowly and methodically. It’s better to not press hard enough and go back to finish than to press so hard you bend the o-wire into a D-shape.

Since I had already made the covers and cut the pages, this part of the project went by really fast. I merely punched and bound the journal and was done. It reminded me of the days when I was an Administrative Assistant and had to bind a lot of reports, except this was way more gratifying. 🙂
I did learn that you need to check and double-check what side you’re going to bind on. You might even want to put a Post-it or piece of brightly colored washi tape on that side. I say this because I had originally wanted the Mommy & Me cover to be the front cover and in my enthusiasm to bind everything in sight, I punched it on the wrong side.
Hence, the hearts were punched through as you can see in the picture below. I have to admit, though, that the tree collage as the front cover has grown on me, and I prefer it that way now. But I still recommending double-checking your work because there’s no going back after you punch the boards and paper!

One of the things that is kind of fun about this o-wire process is there are always bits of o-wire left over from these projects. (I usually have to trim 2-4 inches off of the large o-wire before beginning.) These scraps have been great to bind mini booklets–I take index cards and cut card stock to size and punch. It really is so much fun. 🙂
Well, that wraps up our How to Make an Art Journal series. I hope you enjoyed it. Next Friday, we’ll be finishing up our summer crafting series as well. How in the world did that happen? I’m just getting used to summer! 🙂
Hope you all have a lovely {and creative} day!
5 responses to “How to Make an Art Journal”
I just love all your projects! They’re so pretty and totally doable- not something I have to be a schooled artist to complete.
Thanks so much for your sweet comment! 🙂 I love being able to share simple tutorials that anyone can make–they’re the best, I think. 🙂 Just stopped by your blog and realized I could spend some quality time perusing your cake recipes–yum! 🙂
Thank you for the tip on double checking what side you’re binding. I can see how that could end up being a mess you don’t want to fix later on. I’ll definitely get started on making my own journal after I purchase some wire binding!
Wow. You are one busy lady! All of these ideas and finding time to do them all and then write and blog about them. Amazing! 🙂
Oh my goodness, thank you, Jill! Thank you for your sweet words. 🙂