I received paint from DecoArt for this post on how to make a painted candy dish. The tutorial and opinions expressed are my own.
This painted candy dish tutorial started off as a glass coaster tutorial. I thought it would be fun to use DecoArt’s glass enamel paint on the bottom of glass coasters but could not find a glass coaster anywhere. Don’t you hate it when you really want to make something and can’t find the supplies?
While I was perusing the local craft store, I came across the candle section and the glassware associated with candles. They’re basically candle coasters, right? A couple of smaller candle holders caught my eye, and I thought they would make really cute candy dishes.
My daughter is really into tea parties right now, so they could double as fancy tea things for her as well. (Side note: as soon as I was finished with the photo shoot for this post, she took them to her art table for a tea party. :))
I had never used glass paint before, so this was a learning experience for me. I’ll share some of the tips I learned along the way with you in this tutorial.
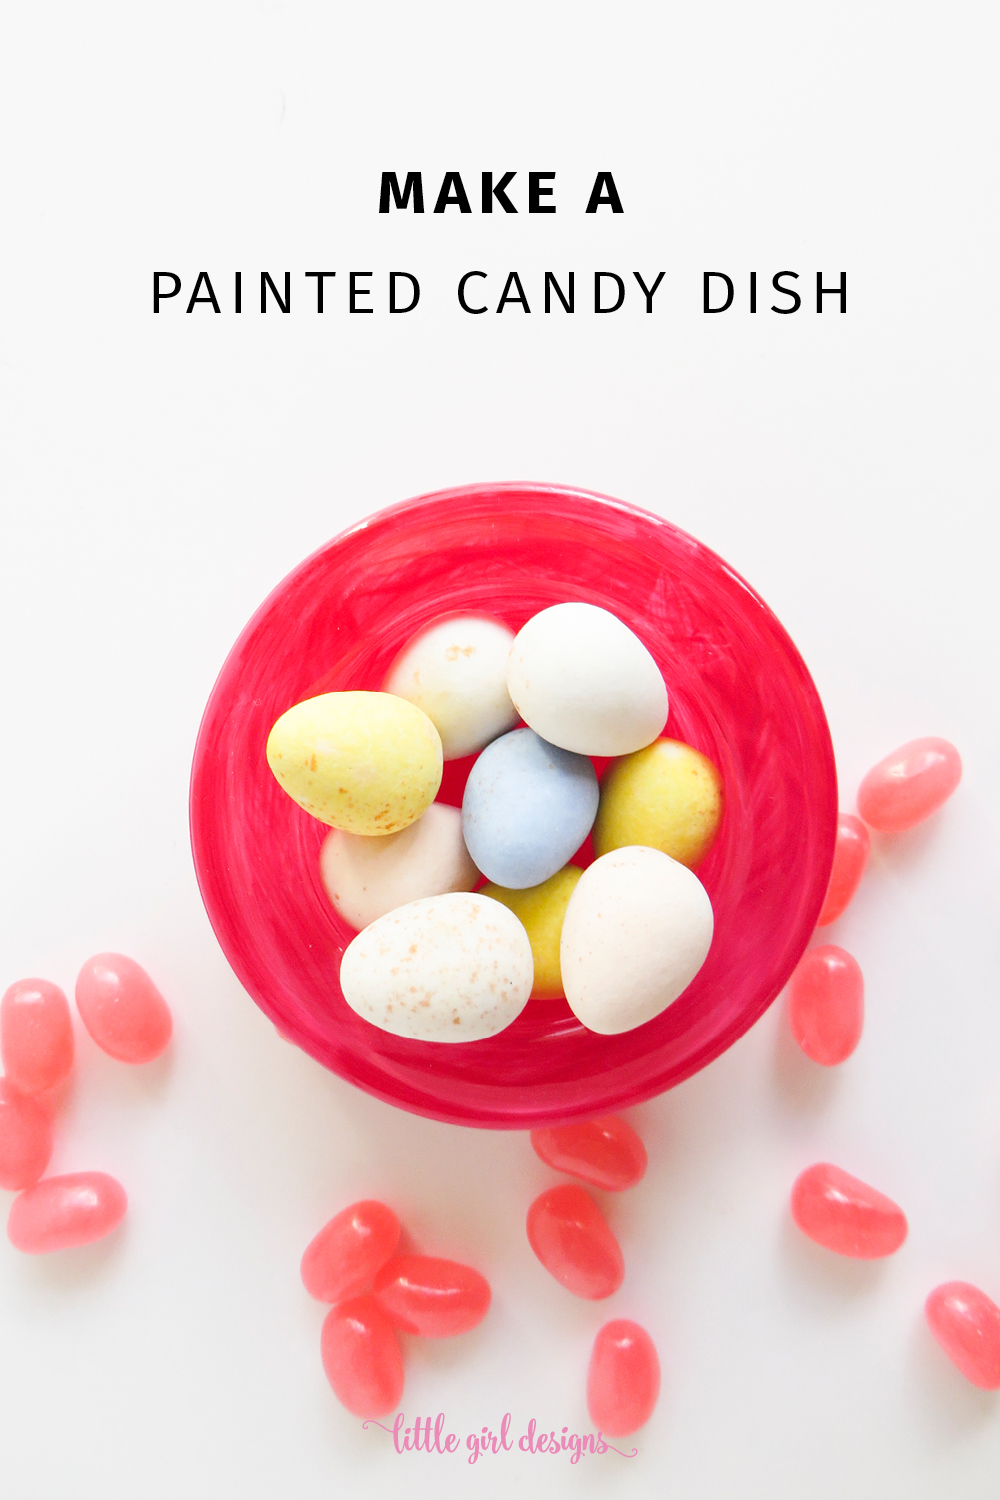
How to Make a Painted Candy Dish
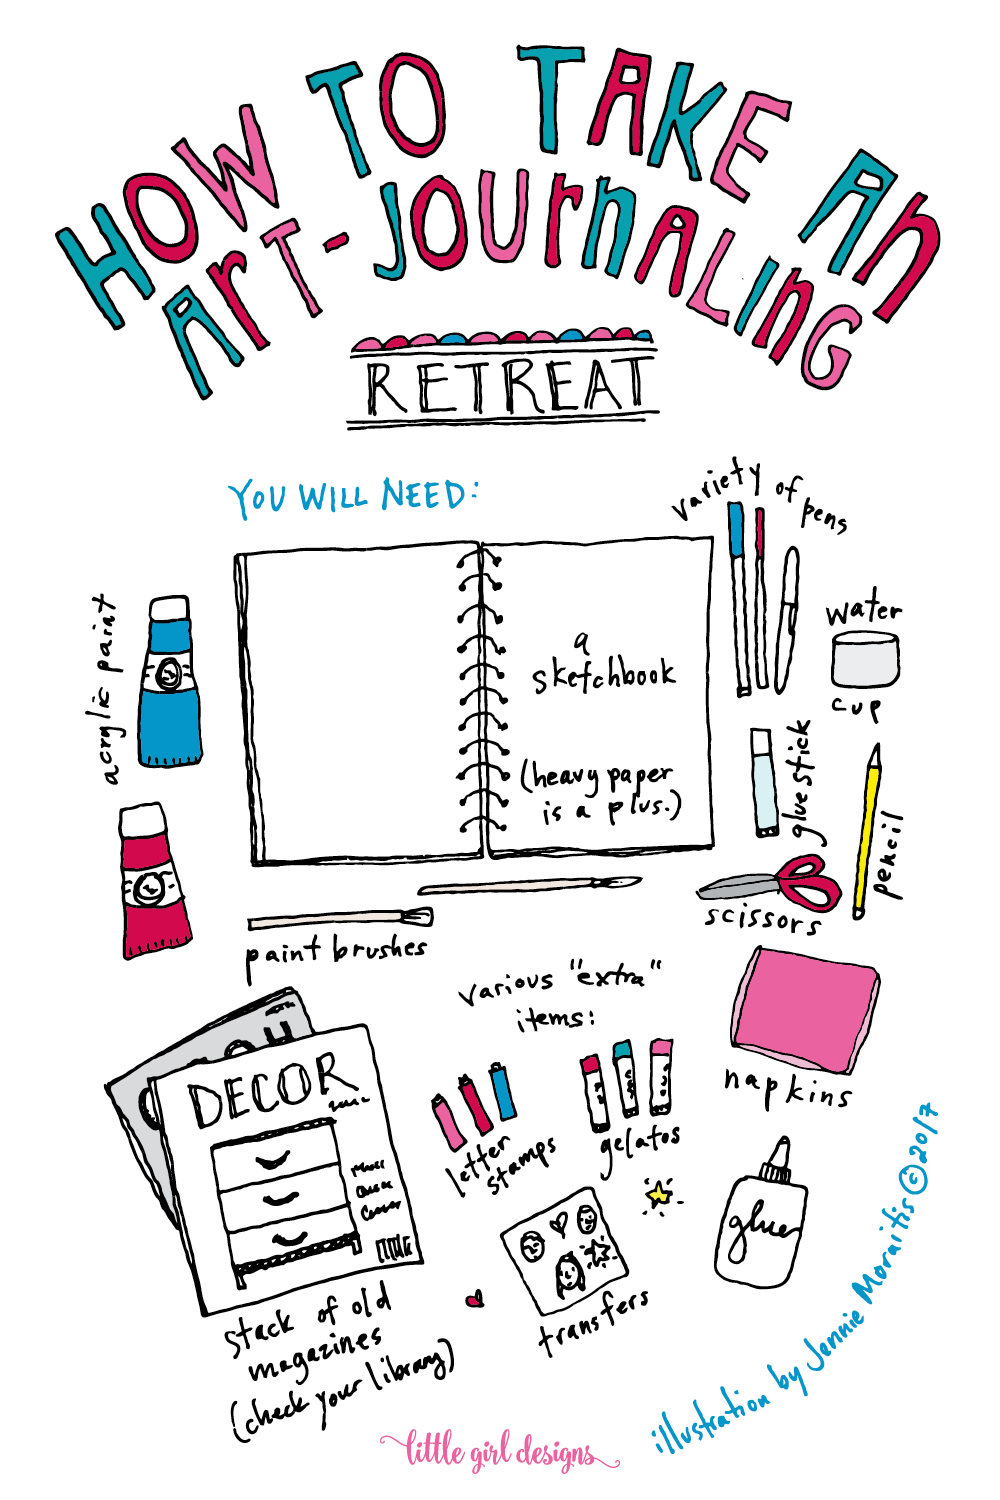
You will need:
Two (or more) small glass dishes. (Be creative—you can use glassware that’s intended for other purposes.)
DecoArt gloss enamel paint
Soft paint brush
Paper or newspaper (for your glassware to dry on)

First, wipe the glassware to make sure there is no dust on the surface. Because I will be using my dishes for food, I painted the outside of the glass so the paint and food will never touch.

With glass paint, it’s a good idea to use more paint than you normally would. You want to move the paint around the surface of the glass, almost dabbing it as you go, since the paint will streak. Once you’ve painted one layer, let it completely dry and paint one or two more layers.

I painted my dishes with two thick layers of paint. (The blue turned out to be a lovely robin’s egg-like blue rather than pure turquoise—so pretty and springlike!)

I wanted to see if a paint pen would work on the outside of the dish, and it did! I used Jane Davenport’s Paint Over Pens that are supposed to be for paper only. If you want your work to be dishwasher safe, use a porcelain pen.
Once the dishes were painted, I followed the instructions on the bottle of paint, and let them dry for four days. After that, I put them on a tray in a cold oven, turned it on to 325 degrees, and baked them for 30 minutes. This sets the paint. (More instructions are available here or on the bottle of paint.)
A painted candy dish is a simple project to make, and they will definitely be used by us. I love how the paint shows through to the interior of the glass dish. You can experiment and try different designs like polka dots or stripes.
Have you ever used glass paint? What project did you make?
Hope you have an amazing {and creative} day!