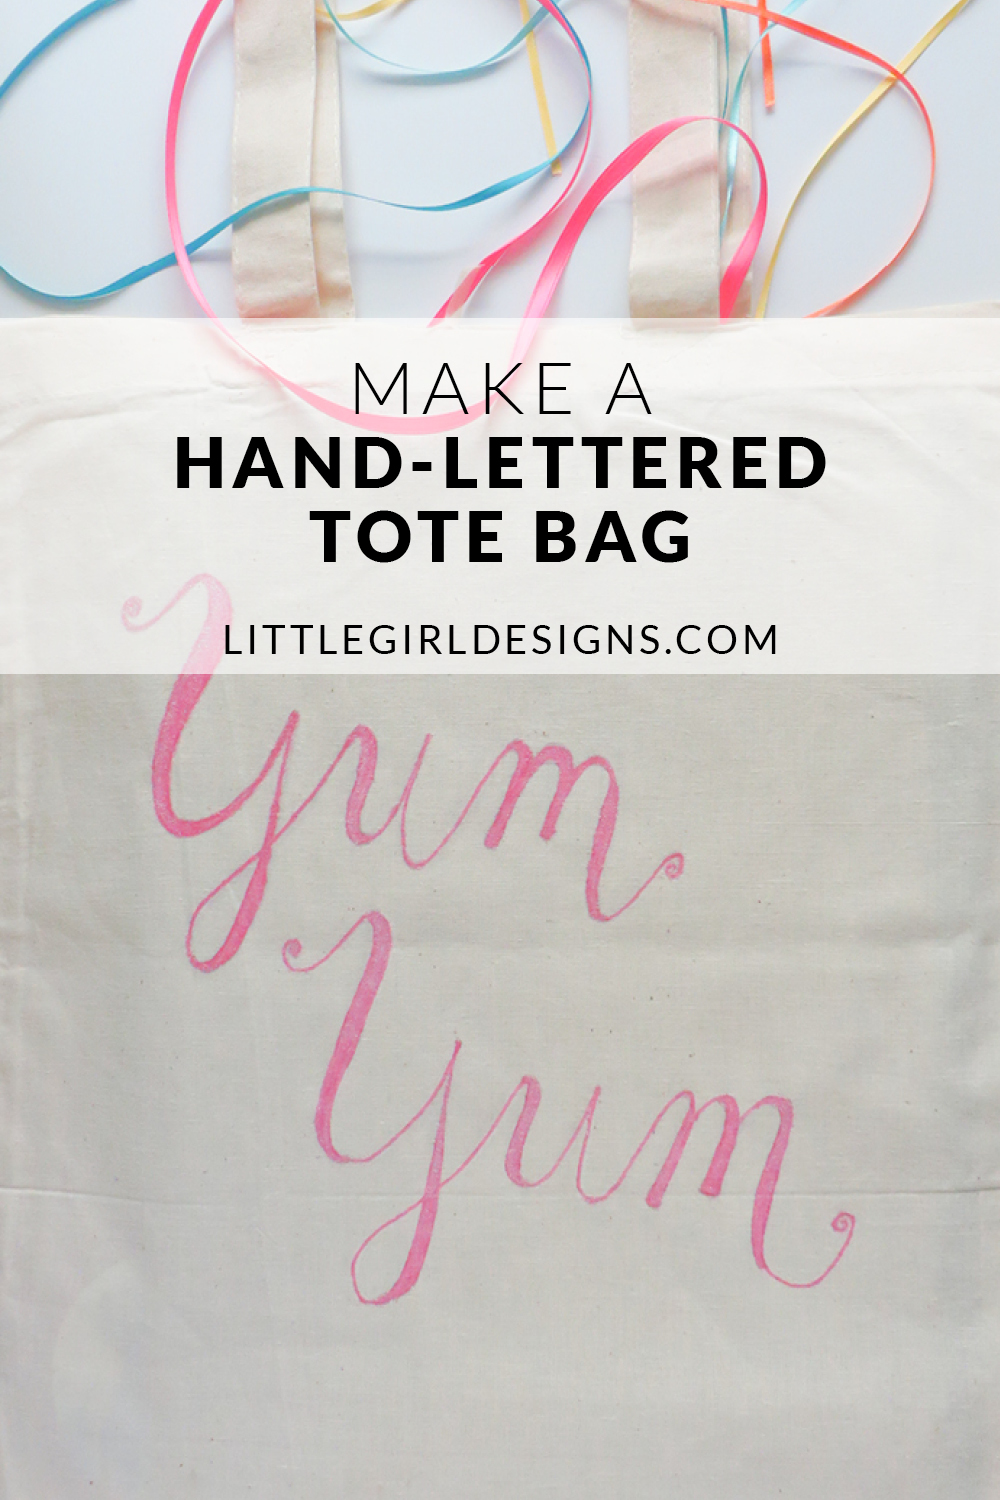
The weather warming up means it’s about time I shared a hand-lettered tote bag tutorial here on the blog. I bought a pack of 20 plain tote bags online many, many years ago and have slowly but surely managed to paint, stitch, and iron-on transfer (is that a verb?) onto every single one of them. This particular project is for a grocery bag; my daughter and I typically swing by a store on our walking routes and having a bag like this is handy for picking up a few items for a snack or dinner.
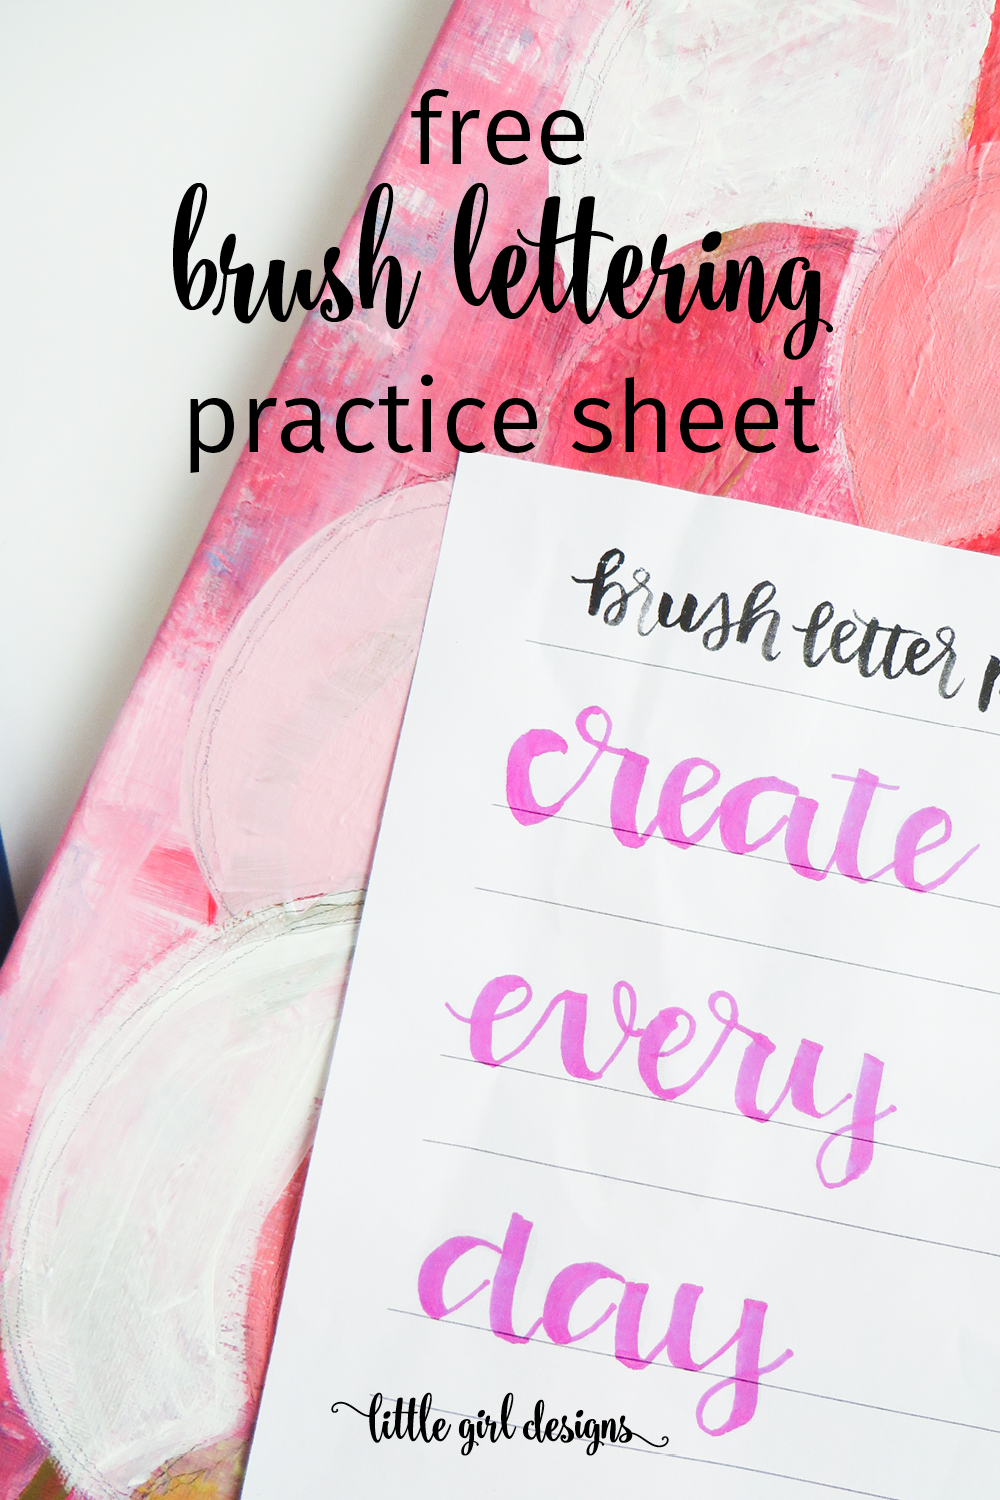
One of my favorite trends at the moment is the sudden influx of hand-lettering and calligraphy. Both are skills that I’ve wanted to try for, well, forever, but it wasn’t until recently that I learned how easy it is to do faux calligraphy. Go Google it now, and then come back and we’ll chat. The gist of faux calligraphy is that you write out letters as you normally would and then fill in the weighted areas (where the lines are thicker) manually. You don’t even need a calligraphy pen. In fact, I often use a regular gel pen for my faux calligraphy projects.
How to Make Your Own Hand-Lettered Tote Bag
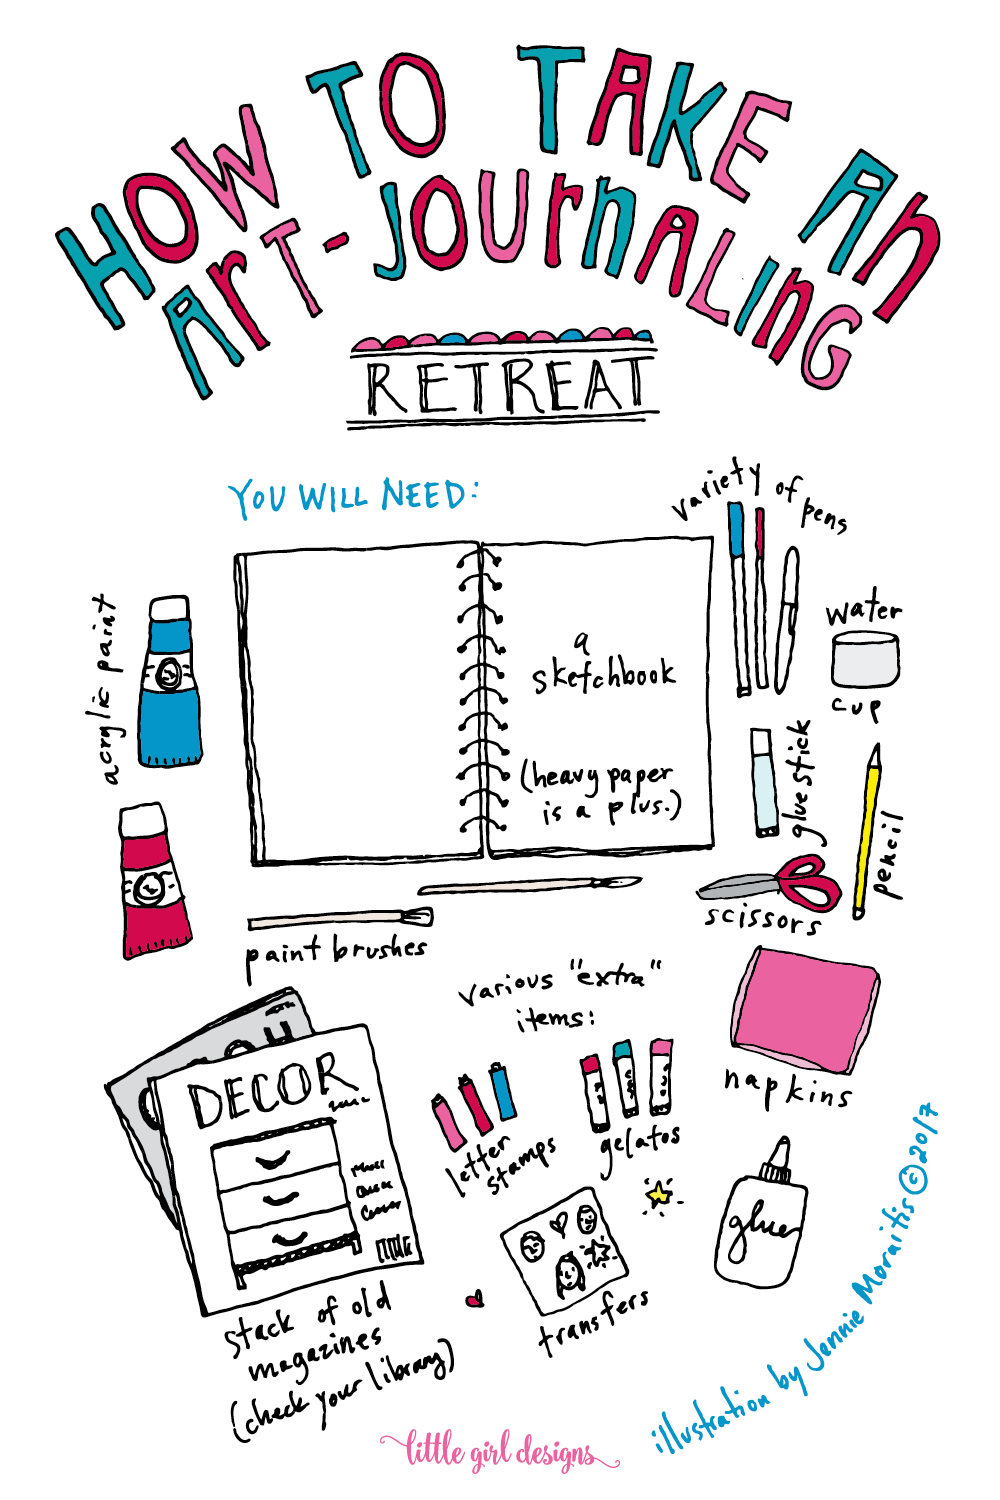
You will need:
Copy paper
Tracing paper
Pencil
Red pen
Iron-on transfer pen
Pink waterproof pen (You could also use a pink fabric pen.)
Fabric pen (I used a silver glitter pen like the one in this set.)
Iron
Tote bag
First, I wrote the words onto copy paper using a pencil. I drew the letters quickly so I could get an idea of the spacing and then filled in the lines, erasing bits that didn’t work. When I finished drawing in pencil, I took a red pen and finalized my design. I knew I was going to be using a transfer pen so wasn’t too worried when my design went over to the next page. (This is why I love transfer pens!)

I flipped over the paper, placed a piece of tracing paper over it, and traced over the backwards design using the transfer pen. By using a red pen for my initial design, I could easily see the differences between the black trace and the red original.

I ironed the bag using the setting for cotton and let the cloth cool for a second or so. Then I placed the tracing paper, transfer ink side down and arranged it on the bag. Because you’re using tracing paper, you’ll be able to see the design correctly. Check the manufacturer’s instructions on the transfer pen for the exact directions on how to transfer the ink.
I pressed firmly and made sure to not move the transfer paper as that blurs the design. On a side note here, I’ve actually used this pen before as the final design for a project (meaning, I didn’t embroider or use fabric pen over it) and that was actually, my first idea for this project. But the pen was extremely light this time around so I decided to brighten it up with a waterproof ink and fabric pen embellishment.

I placed a piece of cardboard inside the bag at this point to prevent my pens from soaking through the fabric. Using a pink waterproof pen, I carefully traced the design and waited a minute to make sure it was dry. Then I took out the fabric pen and drew over the letters again. I used a pen that had glitter ink in it and like how it added a light sparkle to the bag.

So there you have it, a hand-lettered tote bag that you can take with you on your next grocery trip or errand excursion. You can also use this same technique to decorate t-shirts—wouldn’t the word, “loved” be so cute on a little girl’s t-shirt?
Have you ever decorated your own tote bag?
Have a lovely {and creative} day!