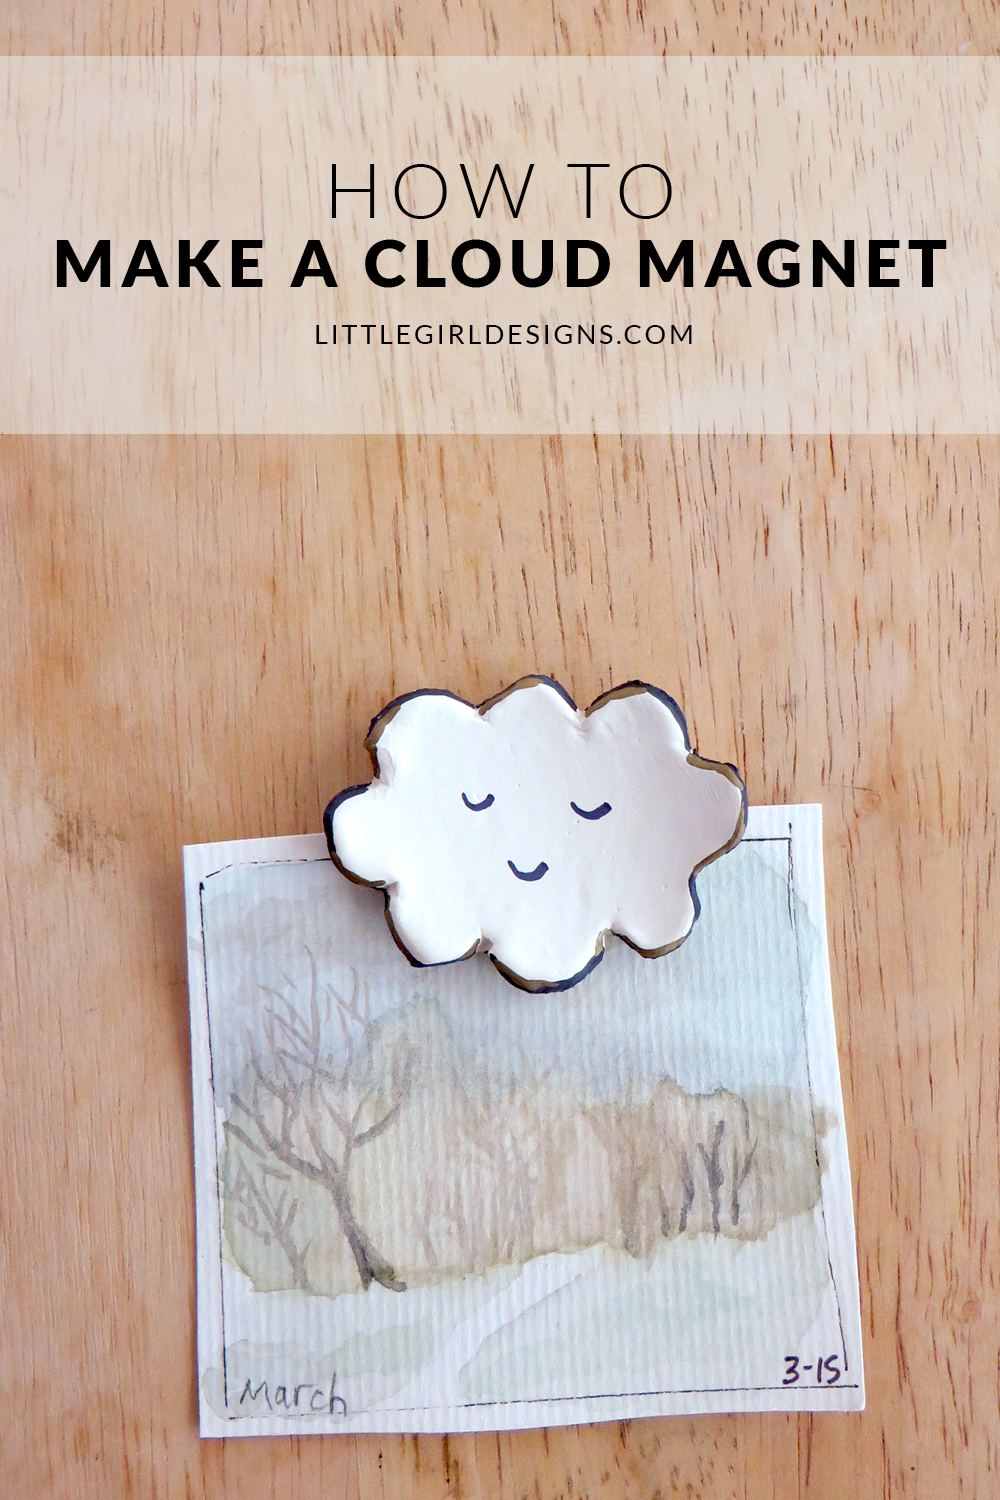
We were so spoiled last year with a mild winter and a long summer that it almost feels strange to have clouds, clouds!, in the sky. However we do live in the Pacific Northwest so I believe embracing the clouds and rain is healthier than living in denial. 🙂 This past year I’ve fallen in love with air-dry clay and at one point decided to try making some cloud magnets. Now that I made clouds, I’m thinking it would be fun to make a sun and some big rain drops too. We could have our own weather board on the refrigerator this winter.
How to Make a Cloud Magnet
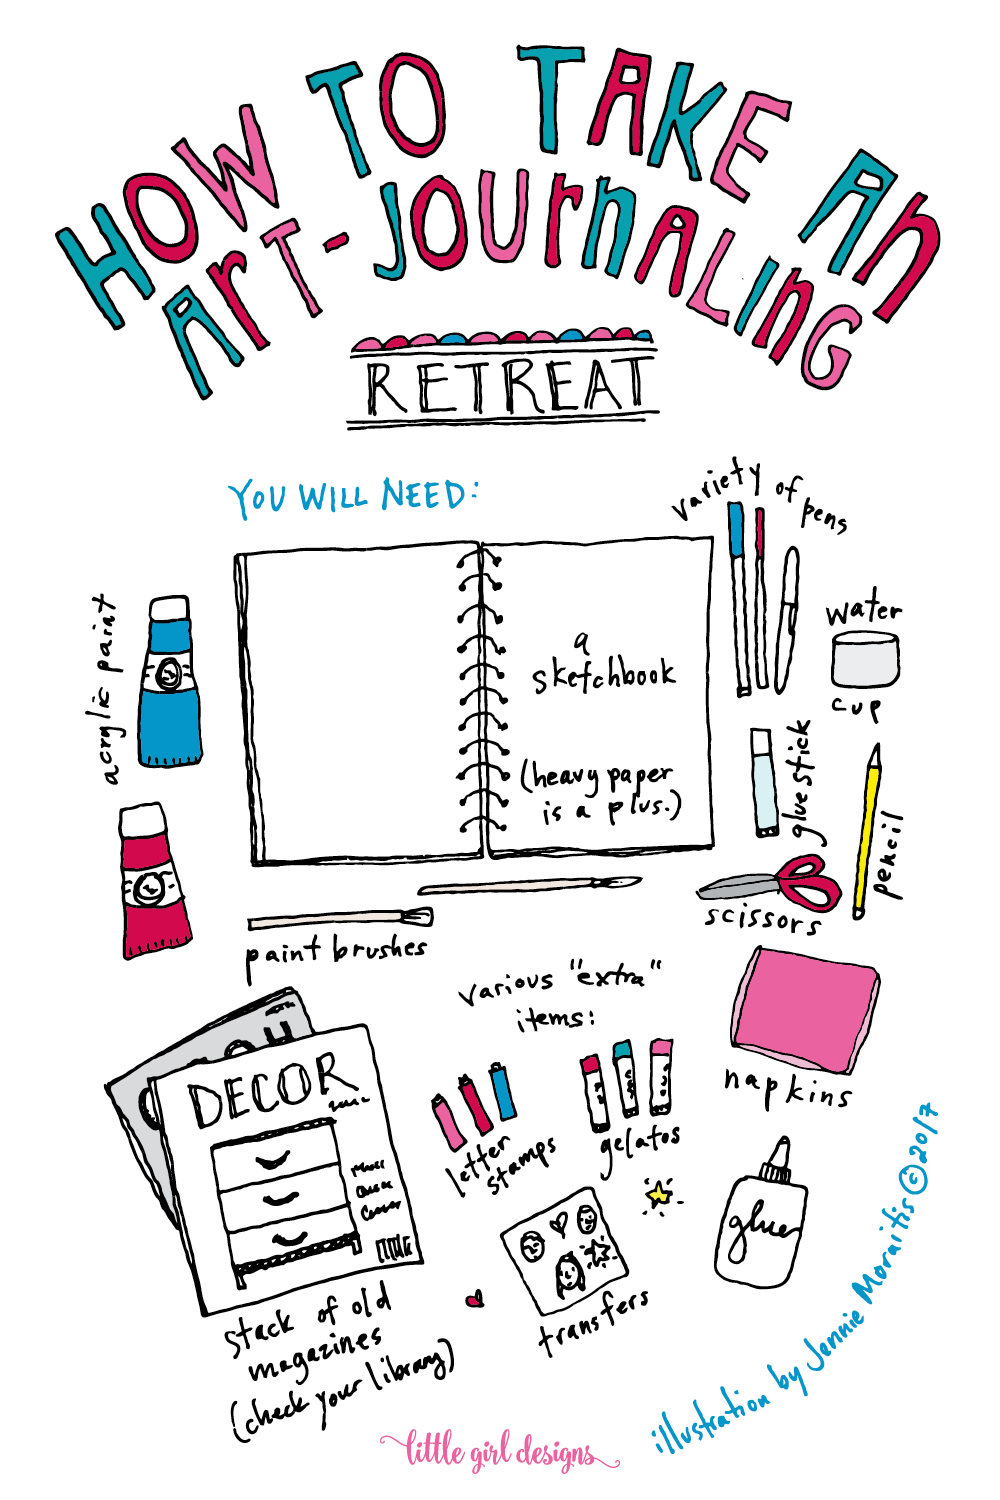
You will need:
Air-dry clay (I use the Crayola brand)
Plastic rolling pin
Plastic knife
Cup of water
Wax paper
Sharpies or gel pens
Magnets
Hot glue gun + glue
To begin, take a ball of clay from the tub and roll it out onto wax paper. The clouds I made were two inches across, so I only needed a small amount of clay.
Roll out the clay to about 1/4 inch thick, and use the plastic knife to cut out a cloud. This can be a little tricky as the clay will want to stick to the knife. The good news is since it’s moist, you can usually fix any mistakes you make. Alternately, you can cut out an oval shape, and draw the cloud shape with a pen (once the clay is dry.)
Dip your finger in water and carefully smooth the surfaces and edges of the clay to finish your piece. For this project, I allowed the clay to dry for two days. Make sure you follow the manufacturer’s directions on whatever clay you choose to use. If you are using white clay, it will turn from a soft gray to pure white when it’s dry.
Use Sharpies to add detail to the cloud magnet. For other projects, I’ve used gel pens, and they work beautifully as well. I happened to have a gold metallic pen in my collection so I decided to use it to add some highlights to the cloud.
Finally, turn the clay pieces over and use a hot glue gun to attach a magnet. I did not seal the clay because I don’t foresee getting these magnets wet, but if you would like to protect your magnets, you can seal them with a varnish. (Again, double-check the manufacturer’s instructions on whatever clay you are using.)
The only problem I’ve found with air-dry clay is it’s addictive. Because I had some clay leftover from this project, I made some extra items and ended up with a collection of beads, buttons, and ornaments. Seriously. I’ve also found that a little clay goes a long way. I thought I had taken just a tiny piece out of the bucket to work with but it seemingly multiplied, hence the extra project-making.
This project is super simple and would make the cutest gift. If you’re nervous about cutting a shape free-hand, think about the cookie cutter shapes you have and how you could decorate them.