This year I decided to dress up an older wreath by adding miniature houses to it. After that, it only seemed fitting to complete the look with a miniature bead garland. I’ve made a couple bead projects on the blog before (like this bracelet and this necklace) but had never attempted a garland before. It’s the same thing, right? Just paint beads and string? Why, yes it is. Except you have to paint a LOT of beads.
Still, my wreath wasn’t that large so I decided to try a couple of different methods out. The first strand was made of painted wooden beads and the second, clay beads. Each of these garlands were simple to make and it really is just a matter of taste as to which one you’d prefer. Below are the instructions for both. Have fun!
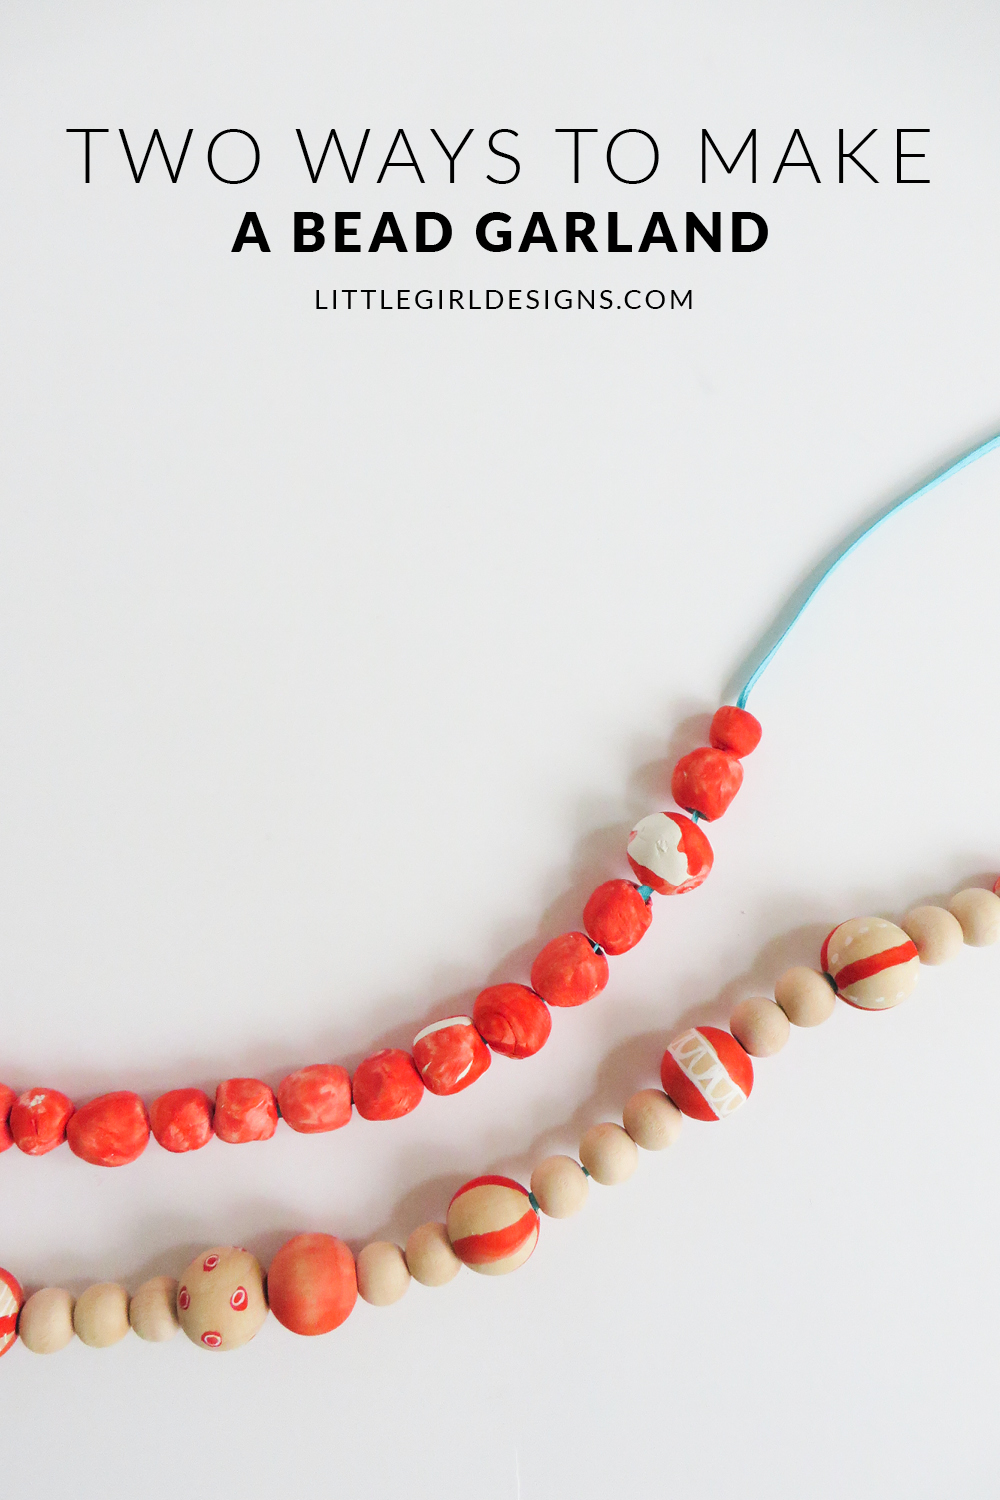
Two Ways to Make a Bead Garland
Wooden Bead Garland
You will need:
Wooden beads in various sizes
Wooden skewers
Play-doh or clay
Watercolors
Paintbrush
Water & cup
White gel pen
Ribbon

In order to easily paint the beads, I wrap a small piece of play-doh around a wooden skewer and then string a bead on. This allows me to twist the bead around without touching it. Once the bead is finished, you can place the skewer(s) in a tall cup to dry.
In the above beads, I used watercolors though you could easily use acrylics for this project. Paint the beads, let them dry, then add details with a white (or black) gel pen. Let dry completely, then string onto the ribbon.
I liked these beads because they are perfectly symmetrical and look really nice when they are finished.
For a more natural and handmade look, you can make clay beads.
Clay Bead Garland
You will need:
Air dry clay (I use the Crayola brand)
Toothpick
Water
Wax paper and jelly roll pan
Paint (I used watercolors in the images below but see my note*)
Paintbrush
Wooden skewer(s)
Play-doh or clay

To make the clay beads, roll small pieces of air dry clay into balls. Use a toothpick to hollow a hole and create a bead. Use water as needed to smooth the beads. A little water goes a long way so be careful. Place the beads onto a wax paper lined jelly roll pan and let dry according to the manufacturer’s directions (usually 24 hours.)
Once the beads are dry, string them on the skewer (as I mentioned for the wooden beads) and paint them. *I painted my beads with watercolors but wasn’t as pleased with the results this time around. Next time I’ll likely use acrylics. With these beads, I decided to splash on the color and let bits of white clay peep through rather than paint a pattern.
That being said about the paint, I did like the weight of these beads and the “clink” they made as I arranged them onto my wreath. I’m sure after they serve their purpose as a Christmas wreath decoration, they’ll become some sort of dress up necklace for my daughter.
All in all, I’m glad I decided to make these. They add a whimsical touch to my Christmas wreath and can easily be changed out if I get inspired to do something else next year.